Quansheng Battery Eliminator Teardown
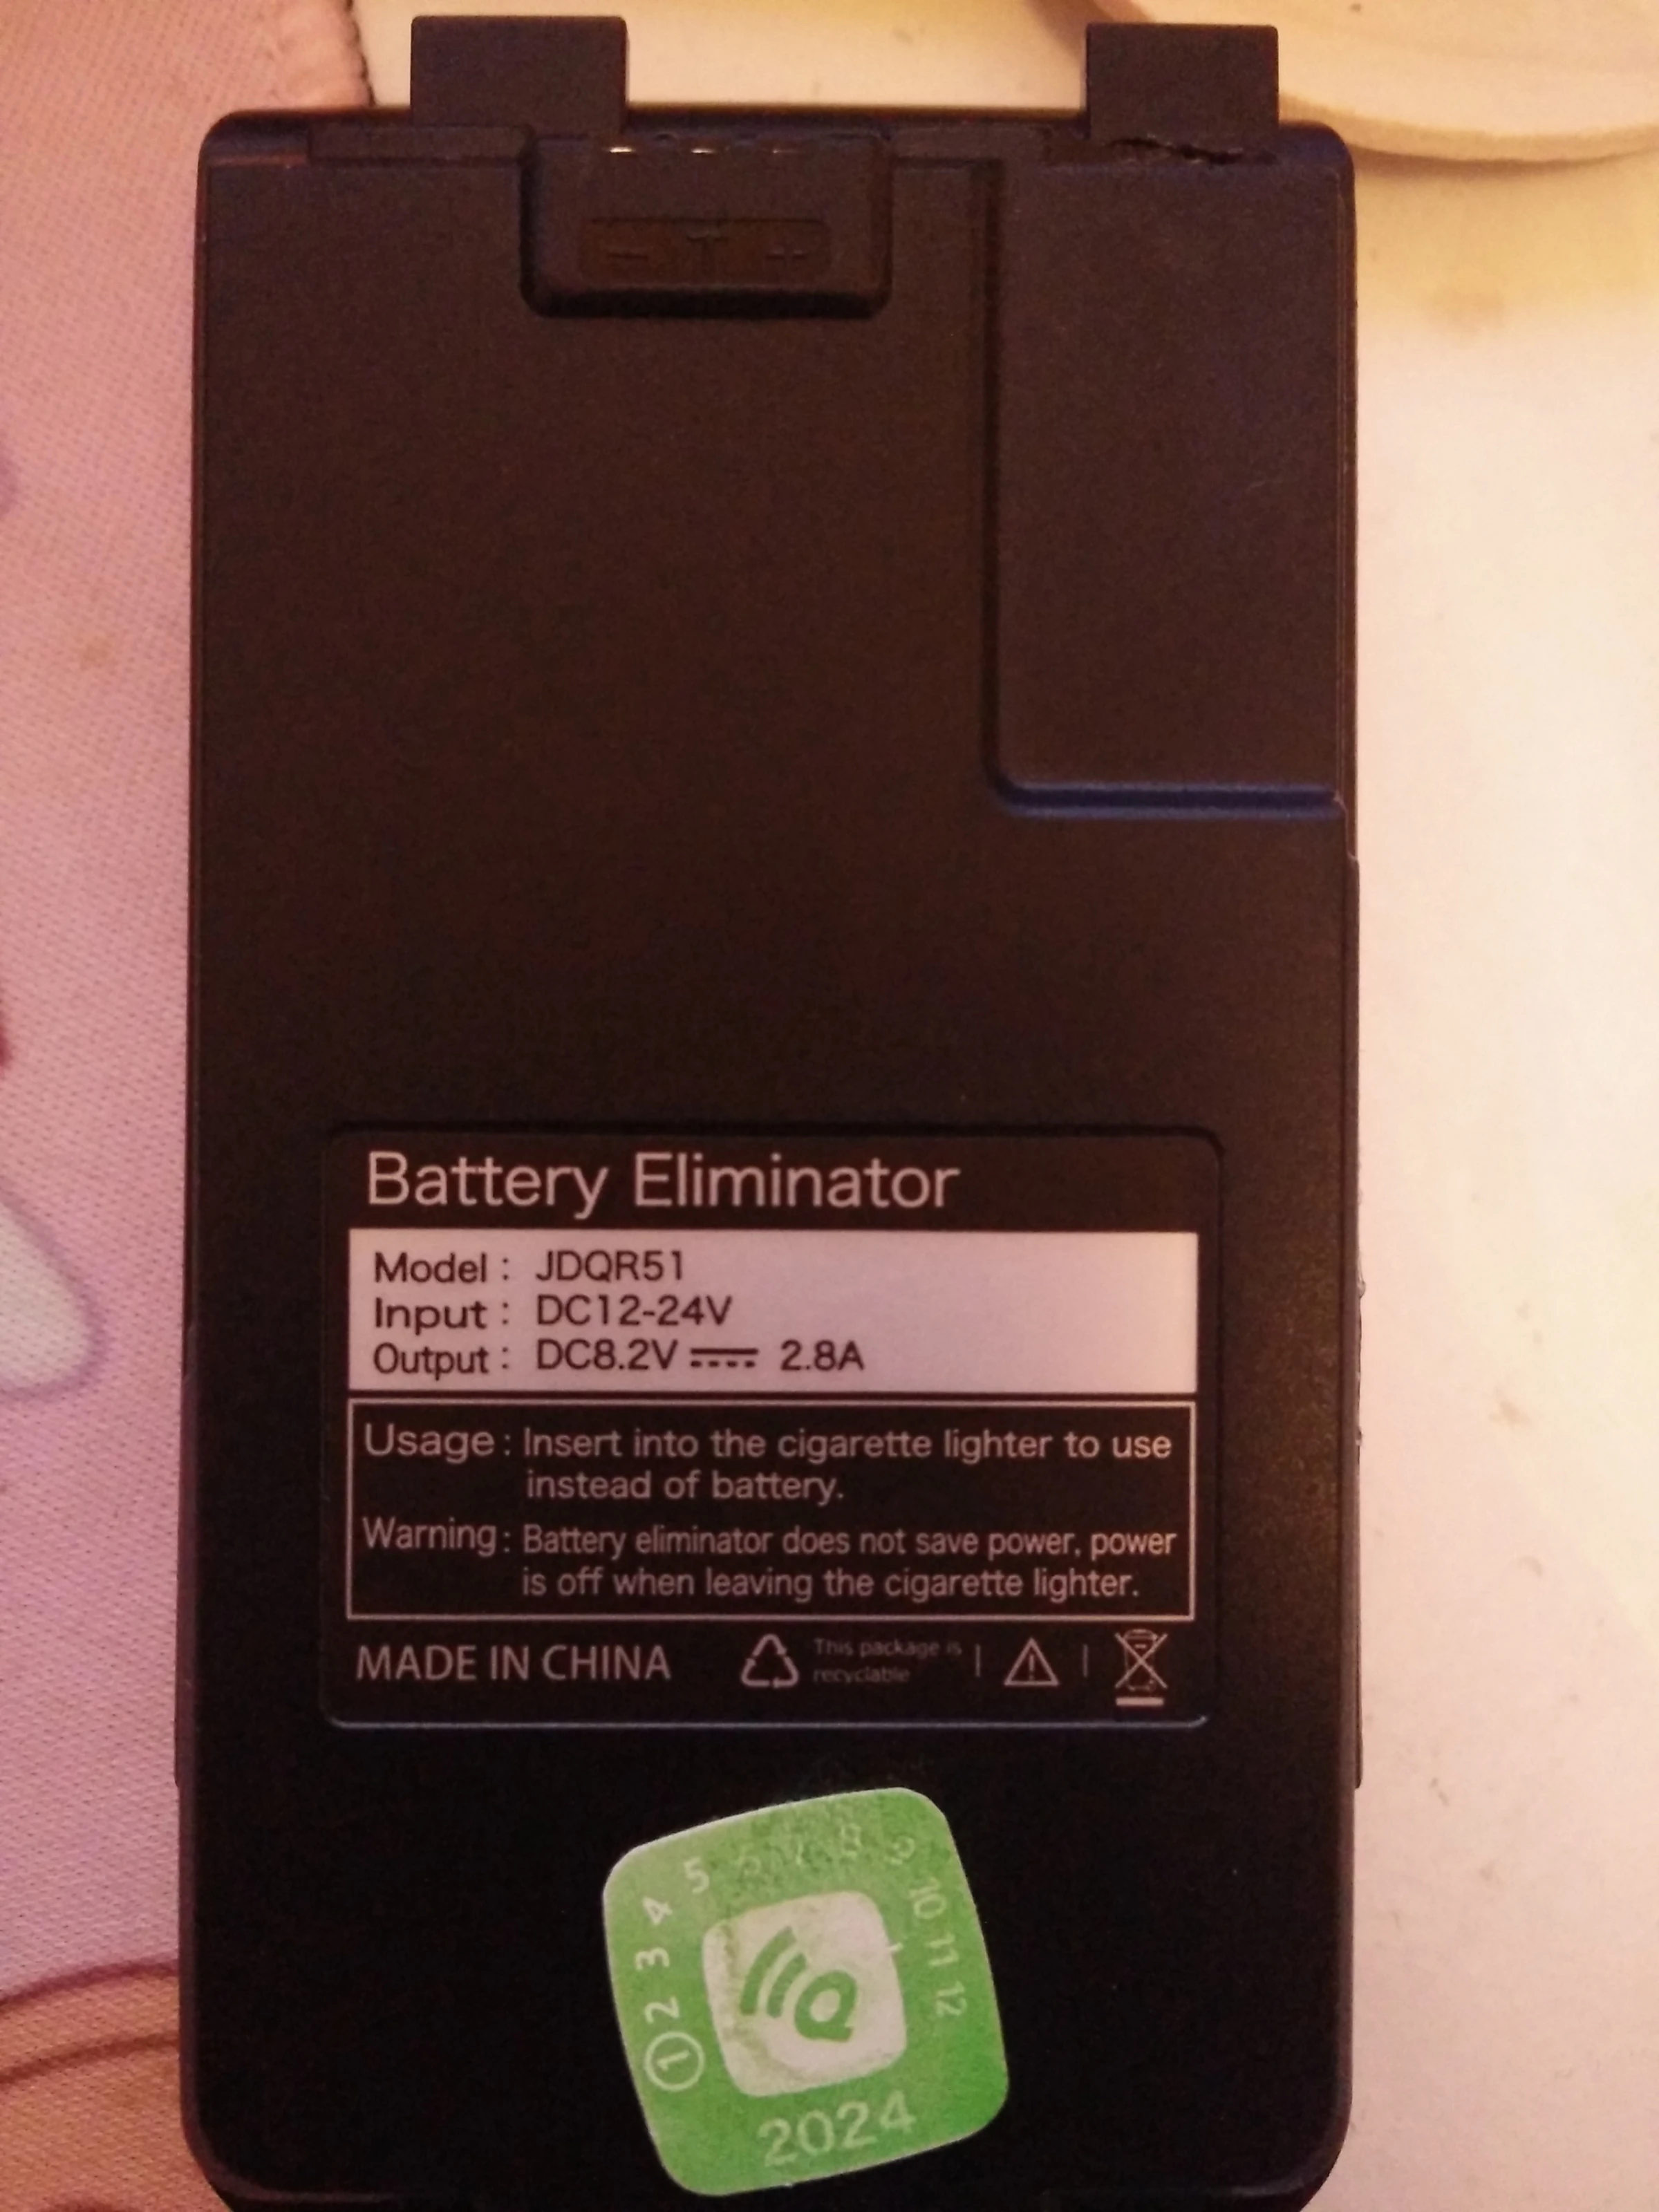
Today I received a “battery eliminator” for Quansheng handheld radios. It claims to take 12-24V DC input on a “cigarette lighter” jack, and pretend to be a battery for the radio. This was the AliExpress listing I used https://www.aliexpress.com/item/1005006890523973.html and here’s what the rear of mine looks like showing a Jan 2024 manufacturing stamp. (note: this photo was taken after I cut into it, the damage was done by me)
I found two fantastic videos by Yuri Sh K7EZA about this battery eliminator on YouTube:
That second one was really helpful in showing me how to get mine open. Thank you Yuri!
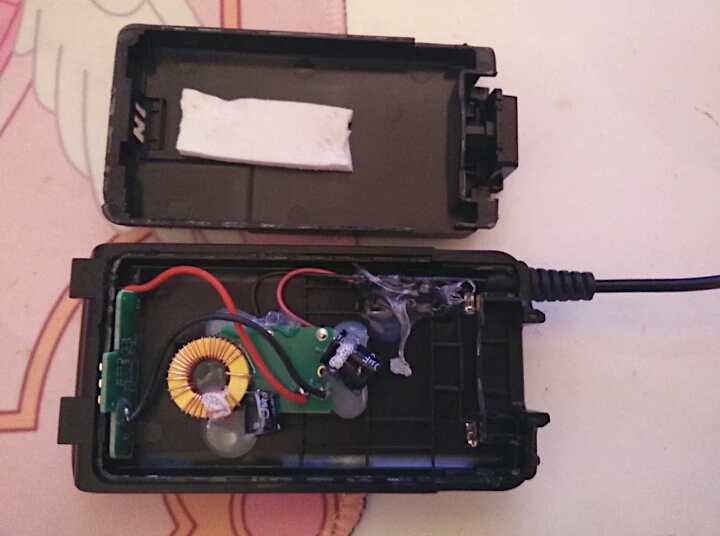
… but inside my unit, instead of a simple linear regulator, we have this:
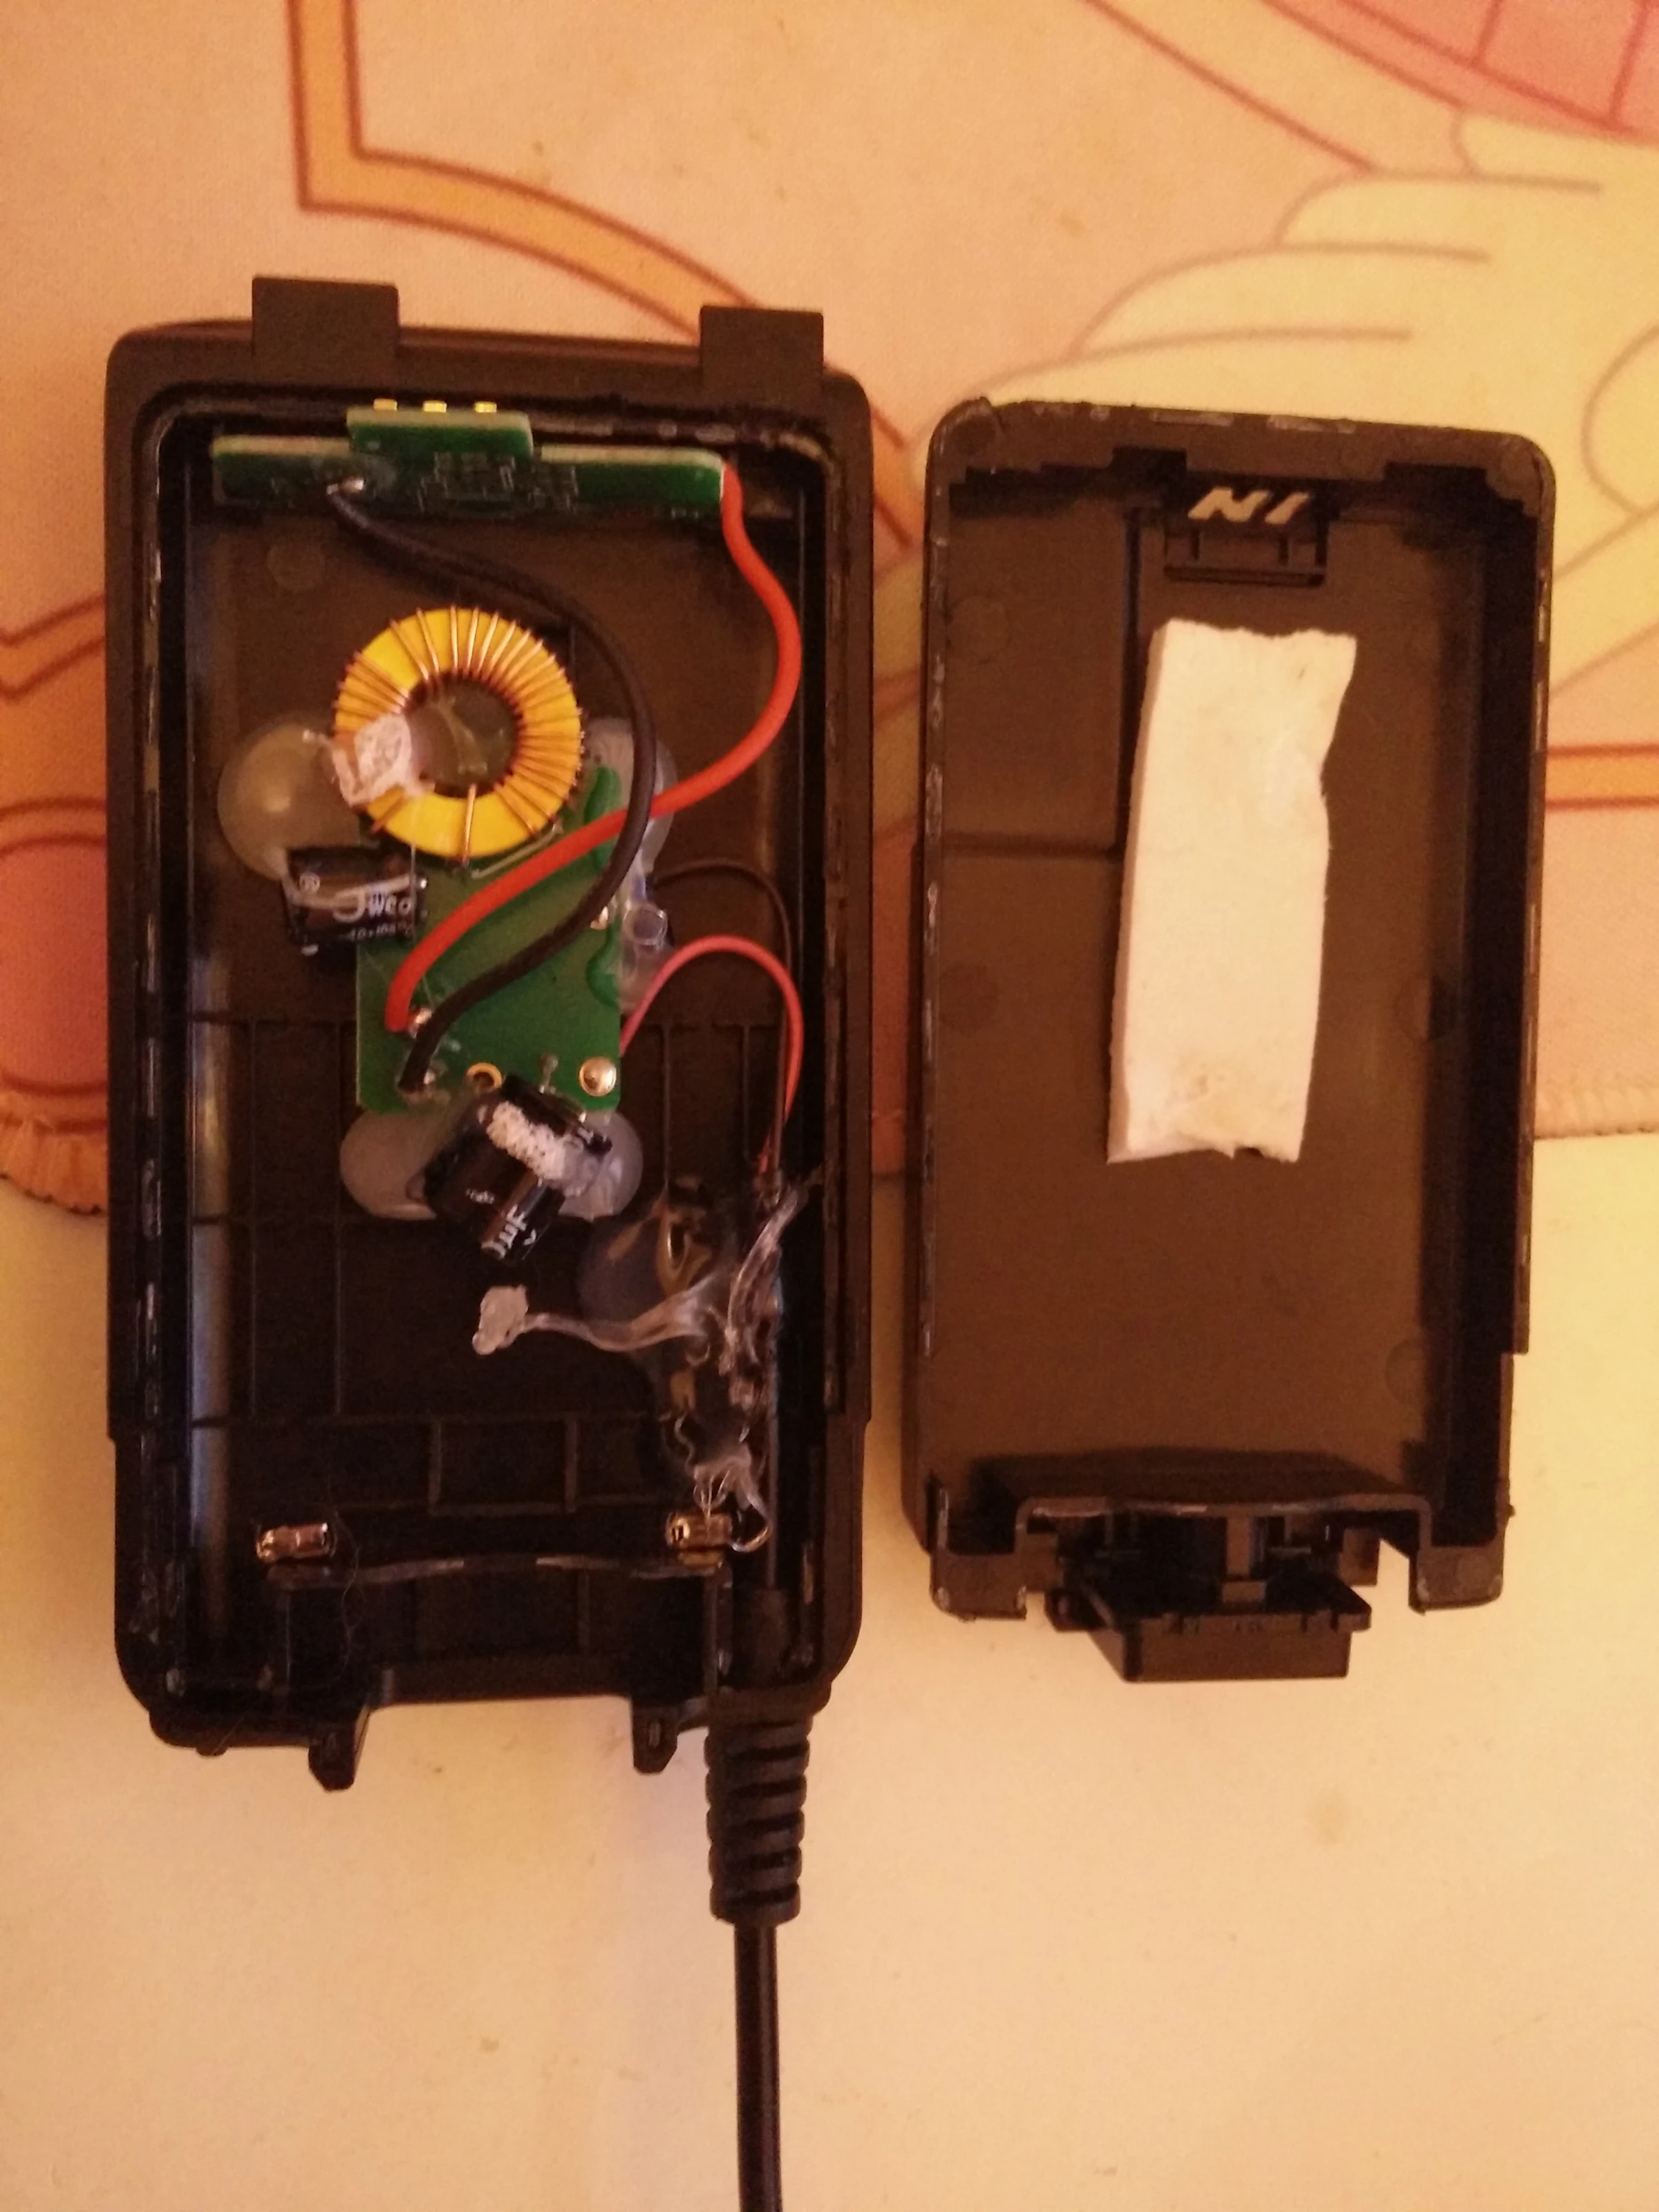
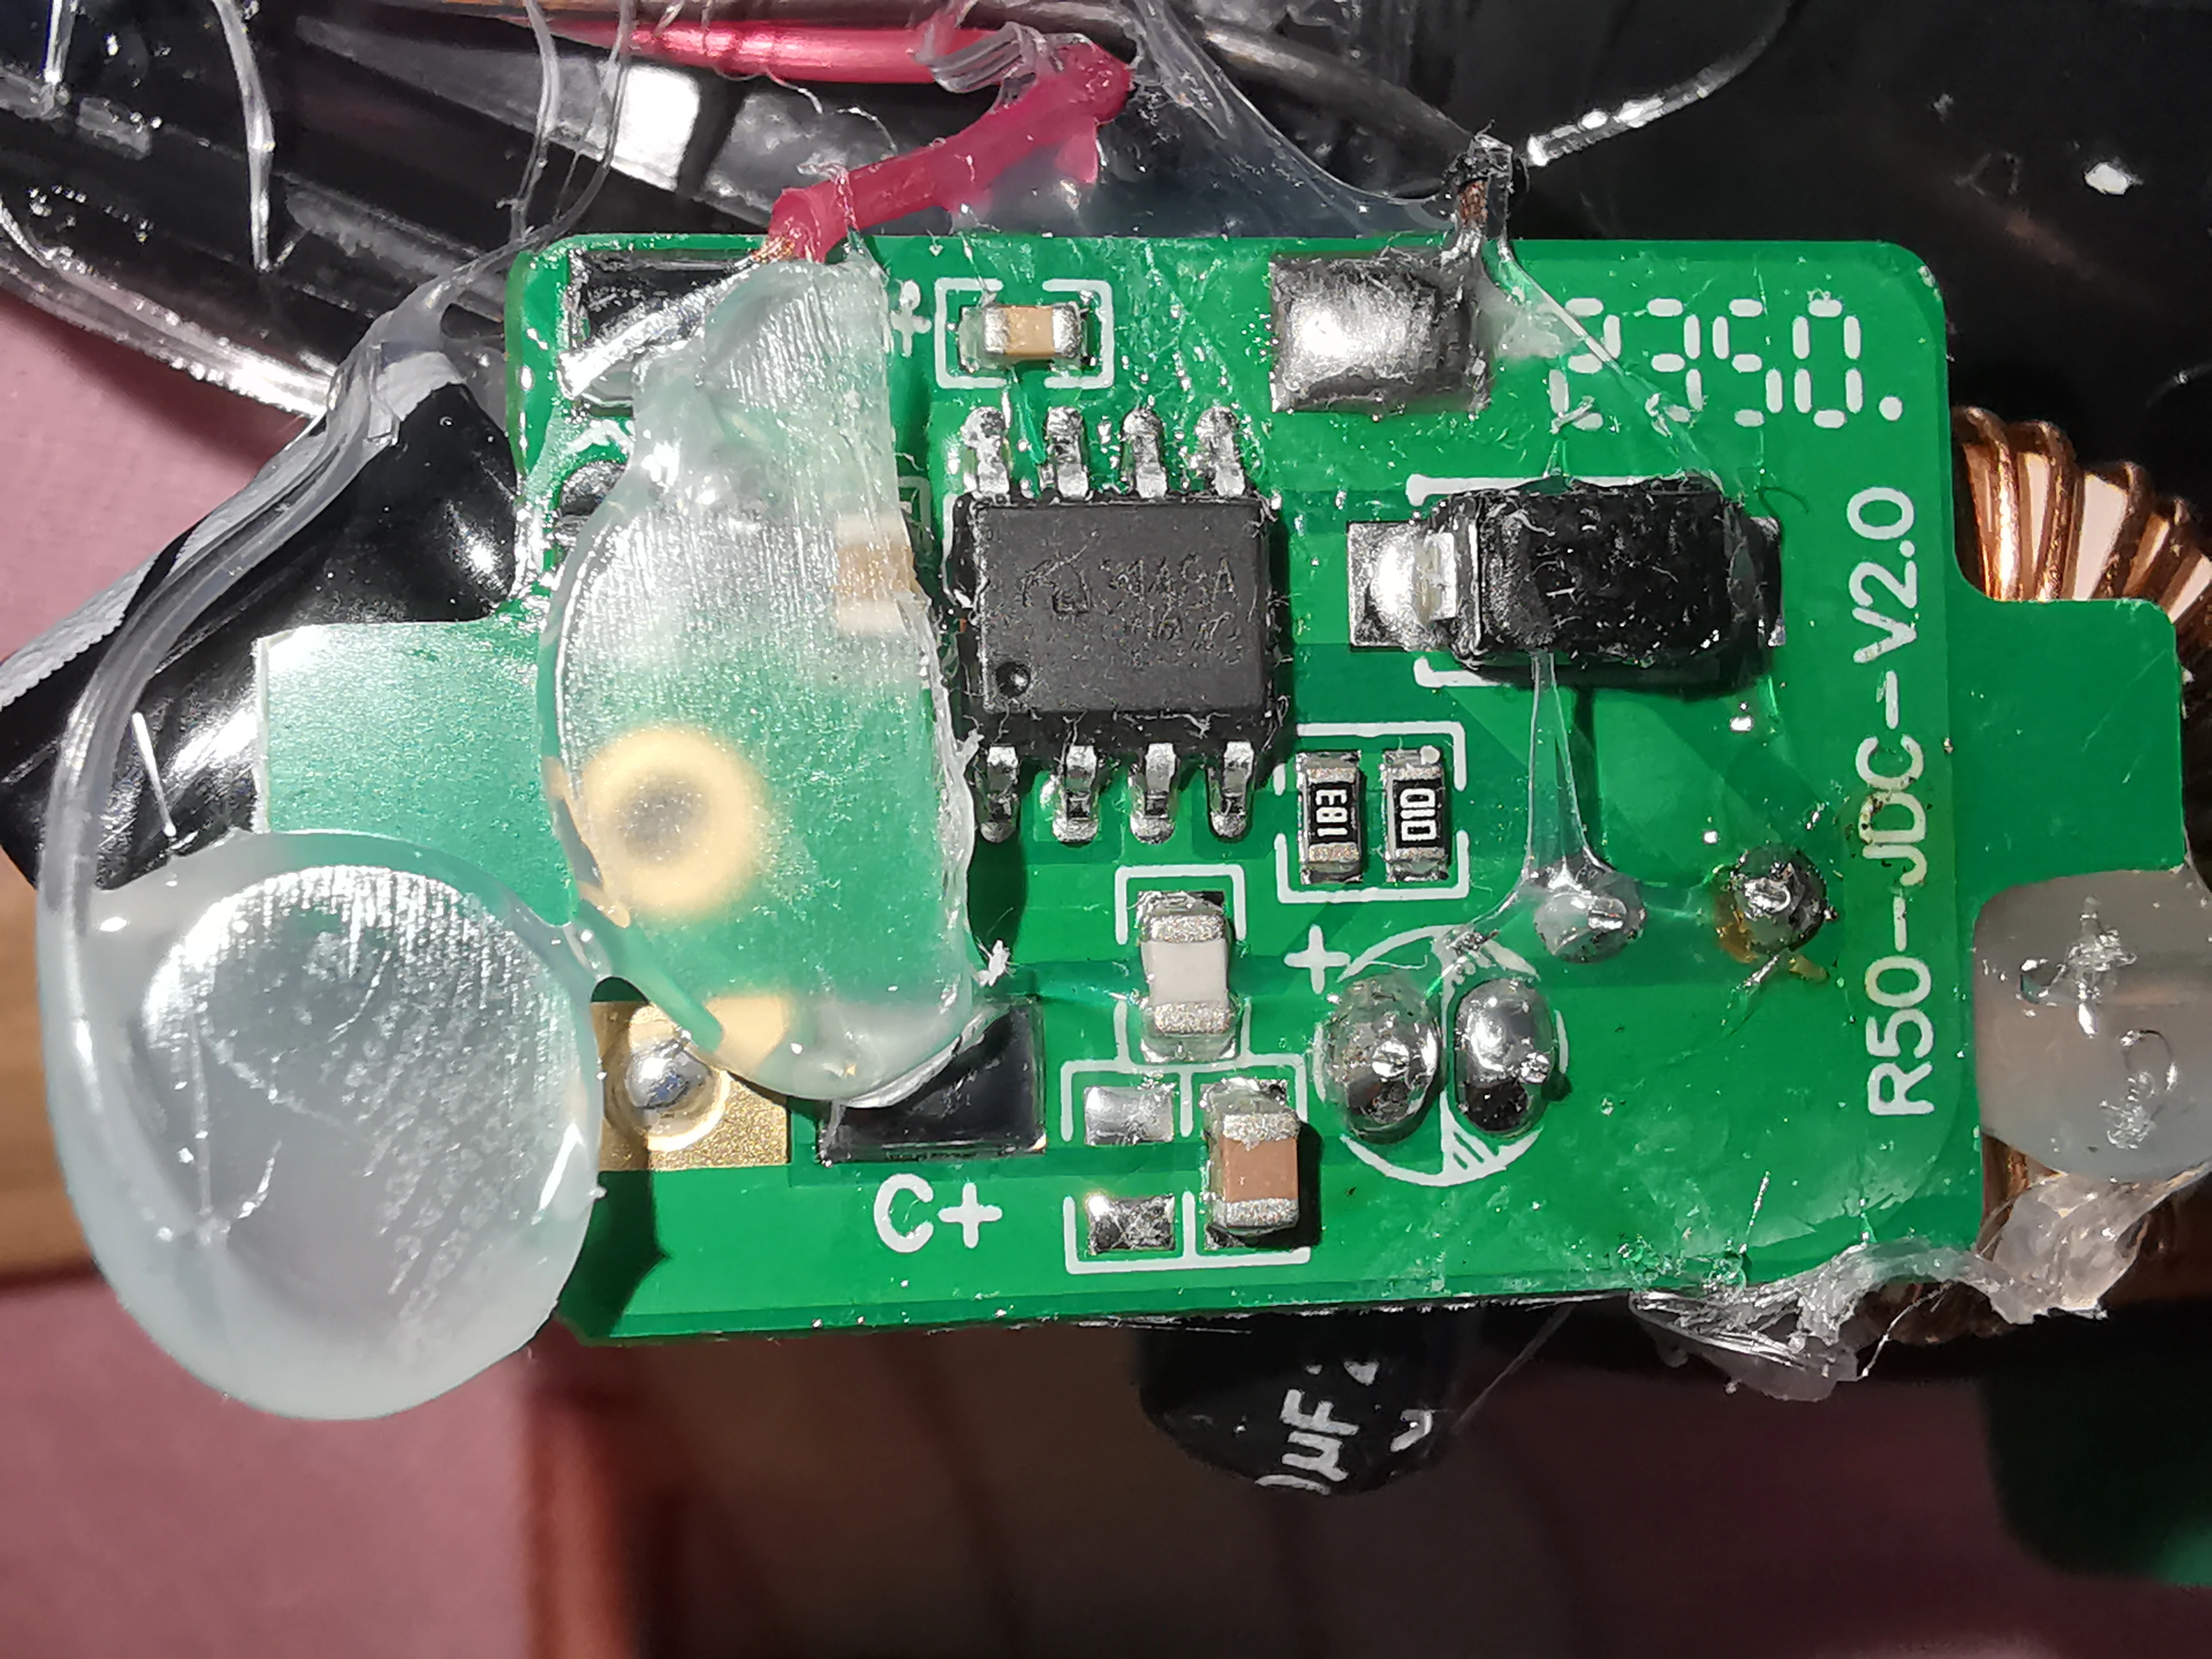
Hey, a toroid! It looks like they put a switching regulator in it now. It’s probably more efficient now, but at the cost of more noise. That’s not a heatsink, by the way, that’s some slightly sticky foam used to push against the components to I guess hold them in place or maybe dampen the physical ringing of that inductor…
I used a hair dryer to soften the hot glue so I could look at the board underneath. Be careful to only soften the glue, not melt the solder or anything else.
Here’s some closeups of that chip. It says “3148A 2343”, but I can’t work out what that is. I don’t recognise the logo either. 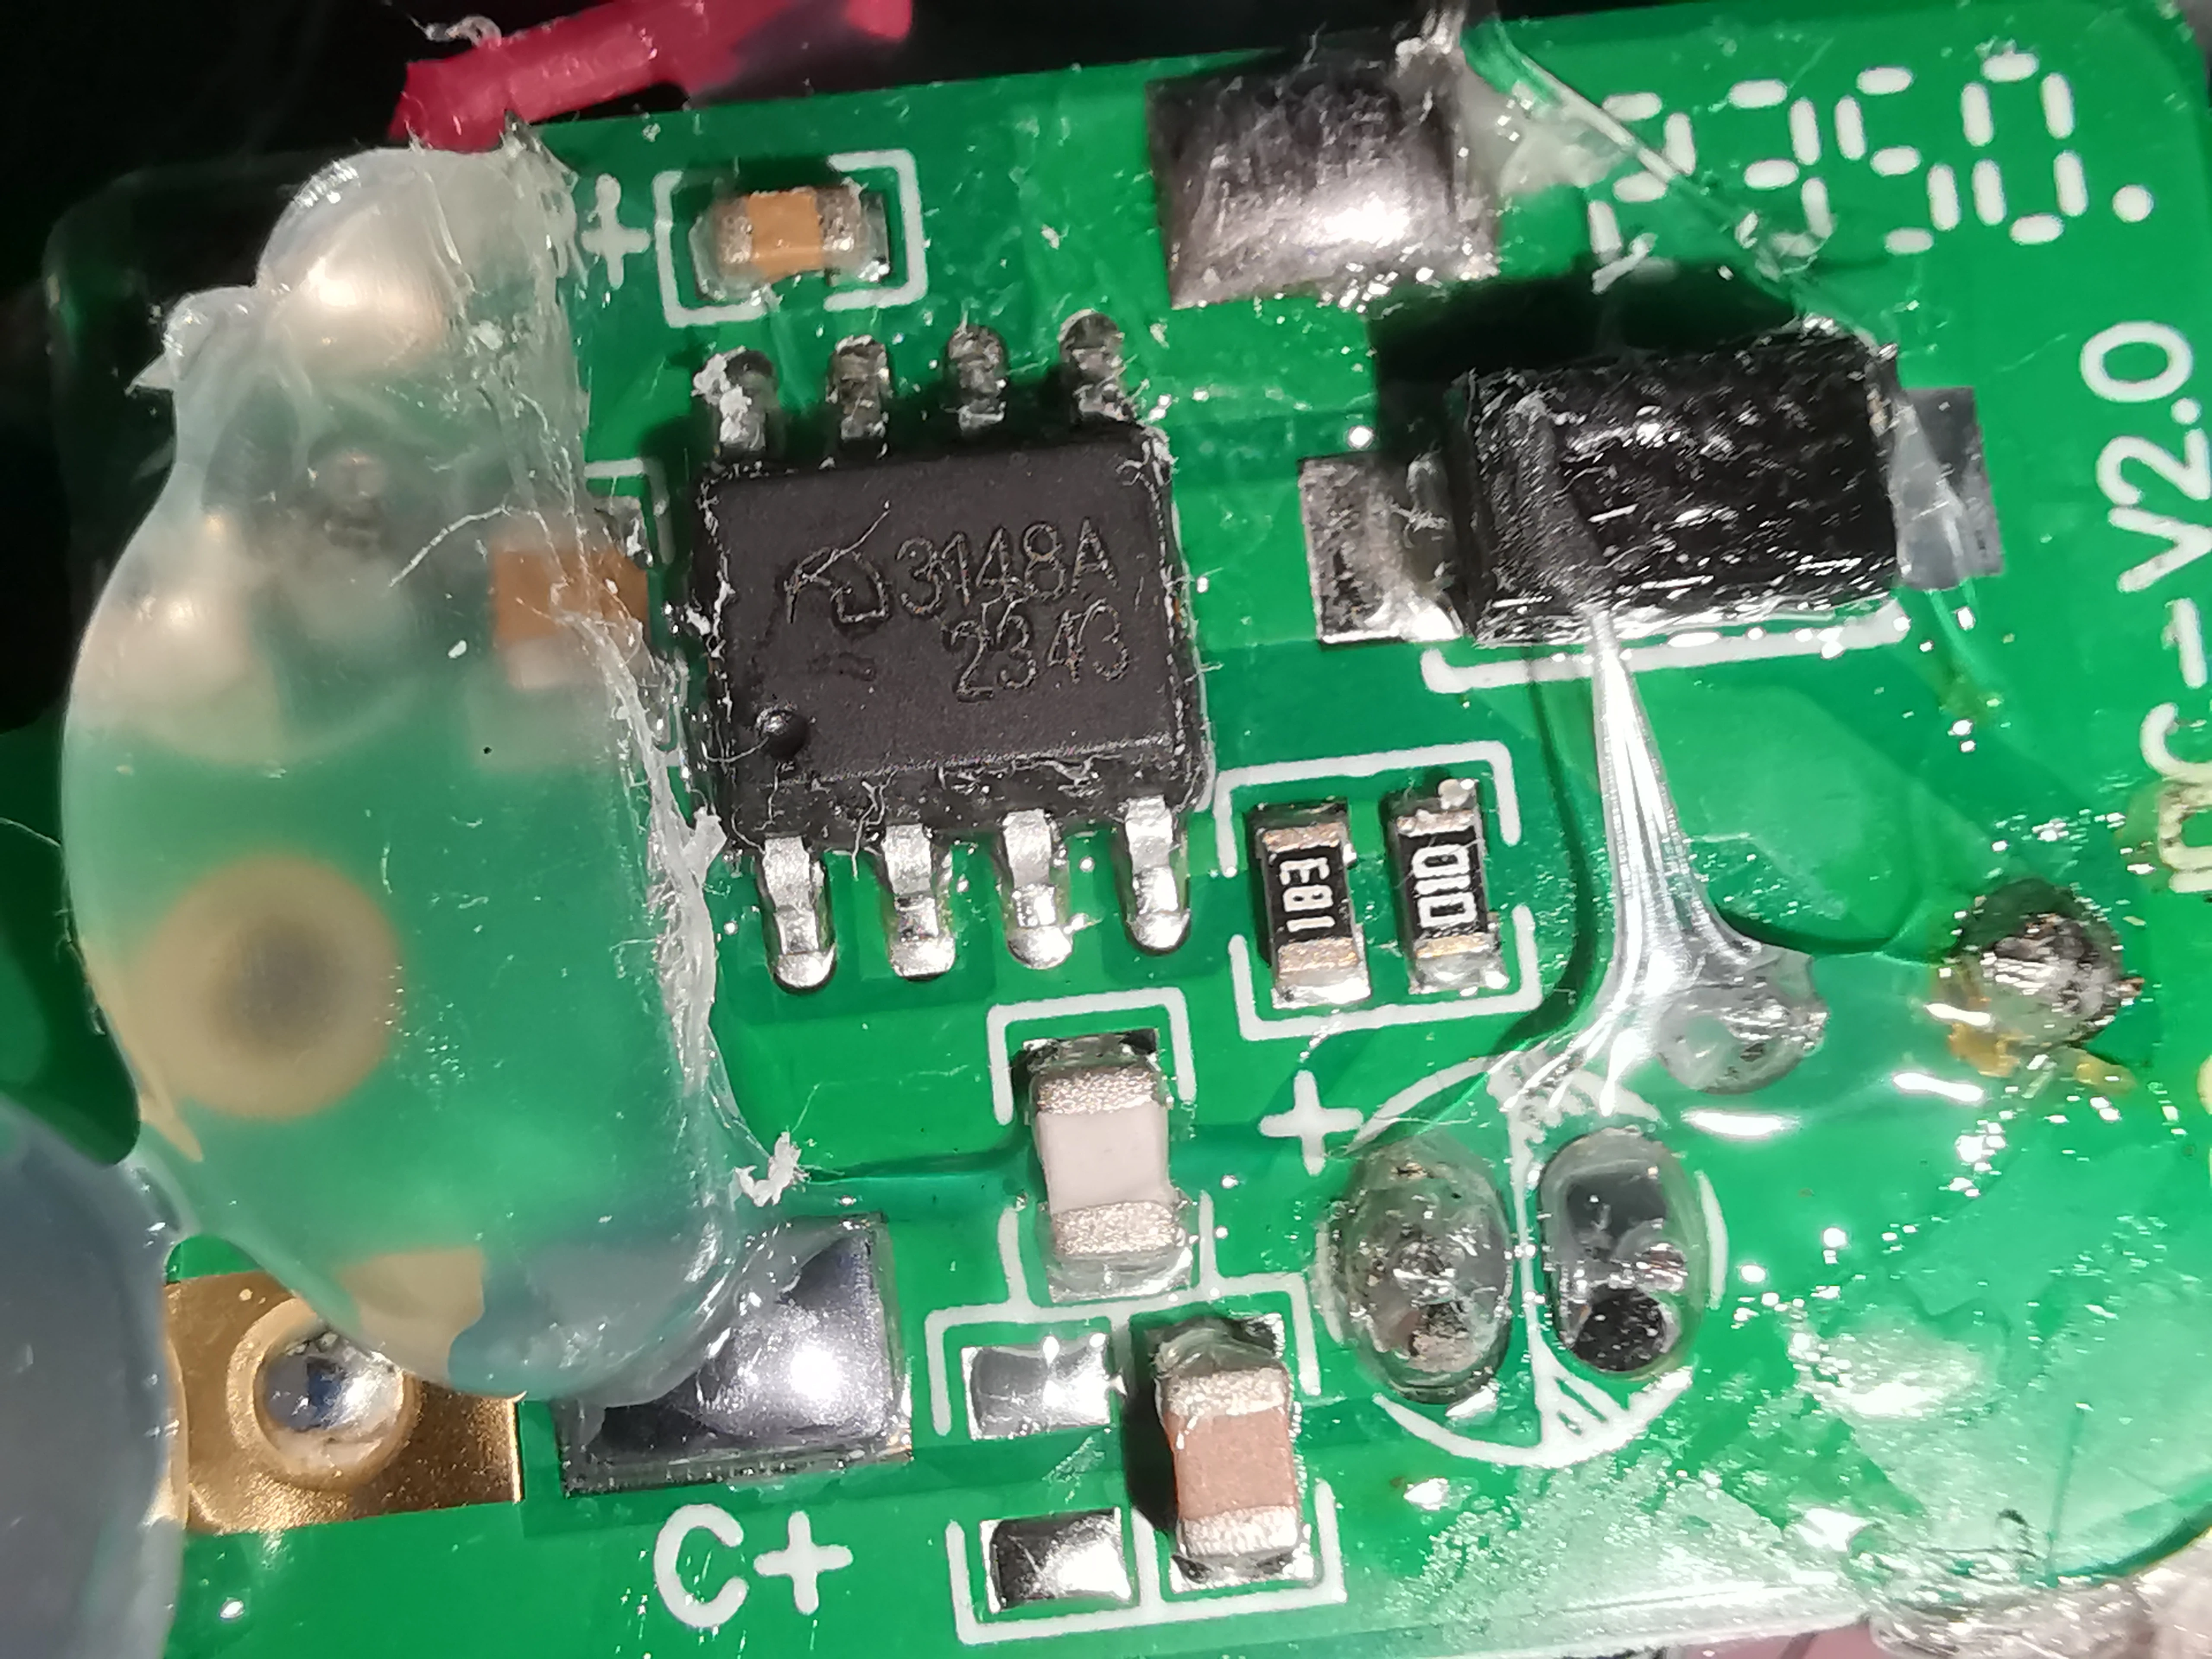
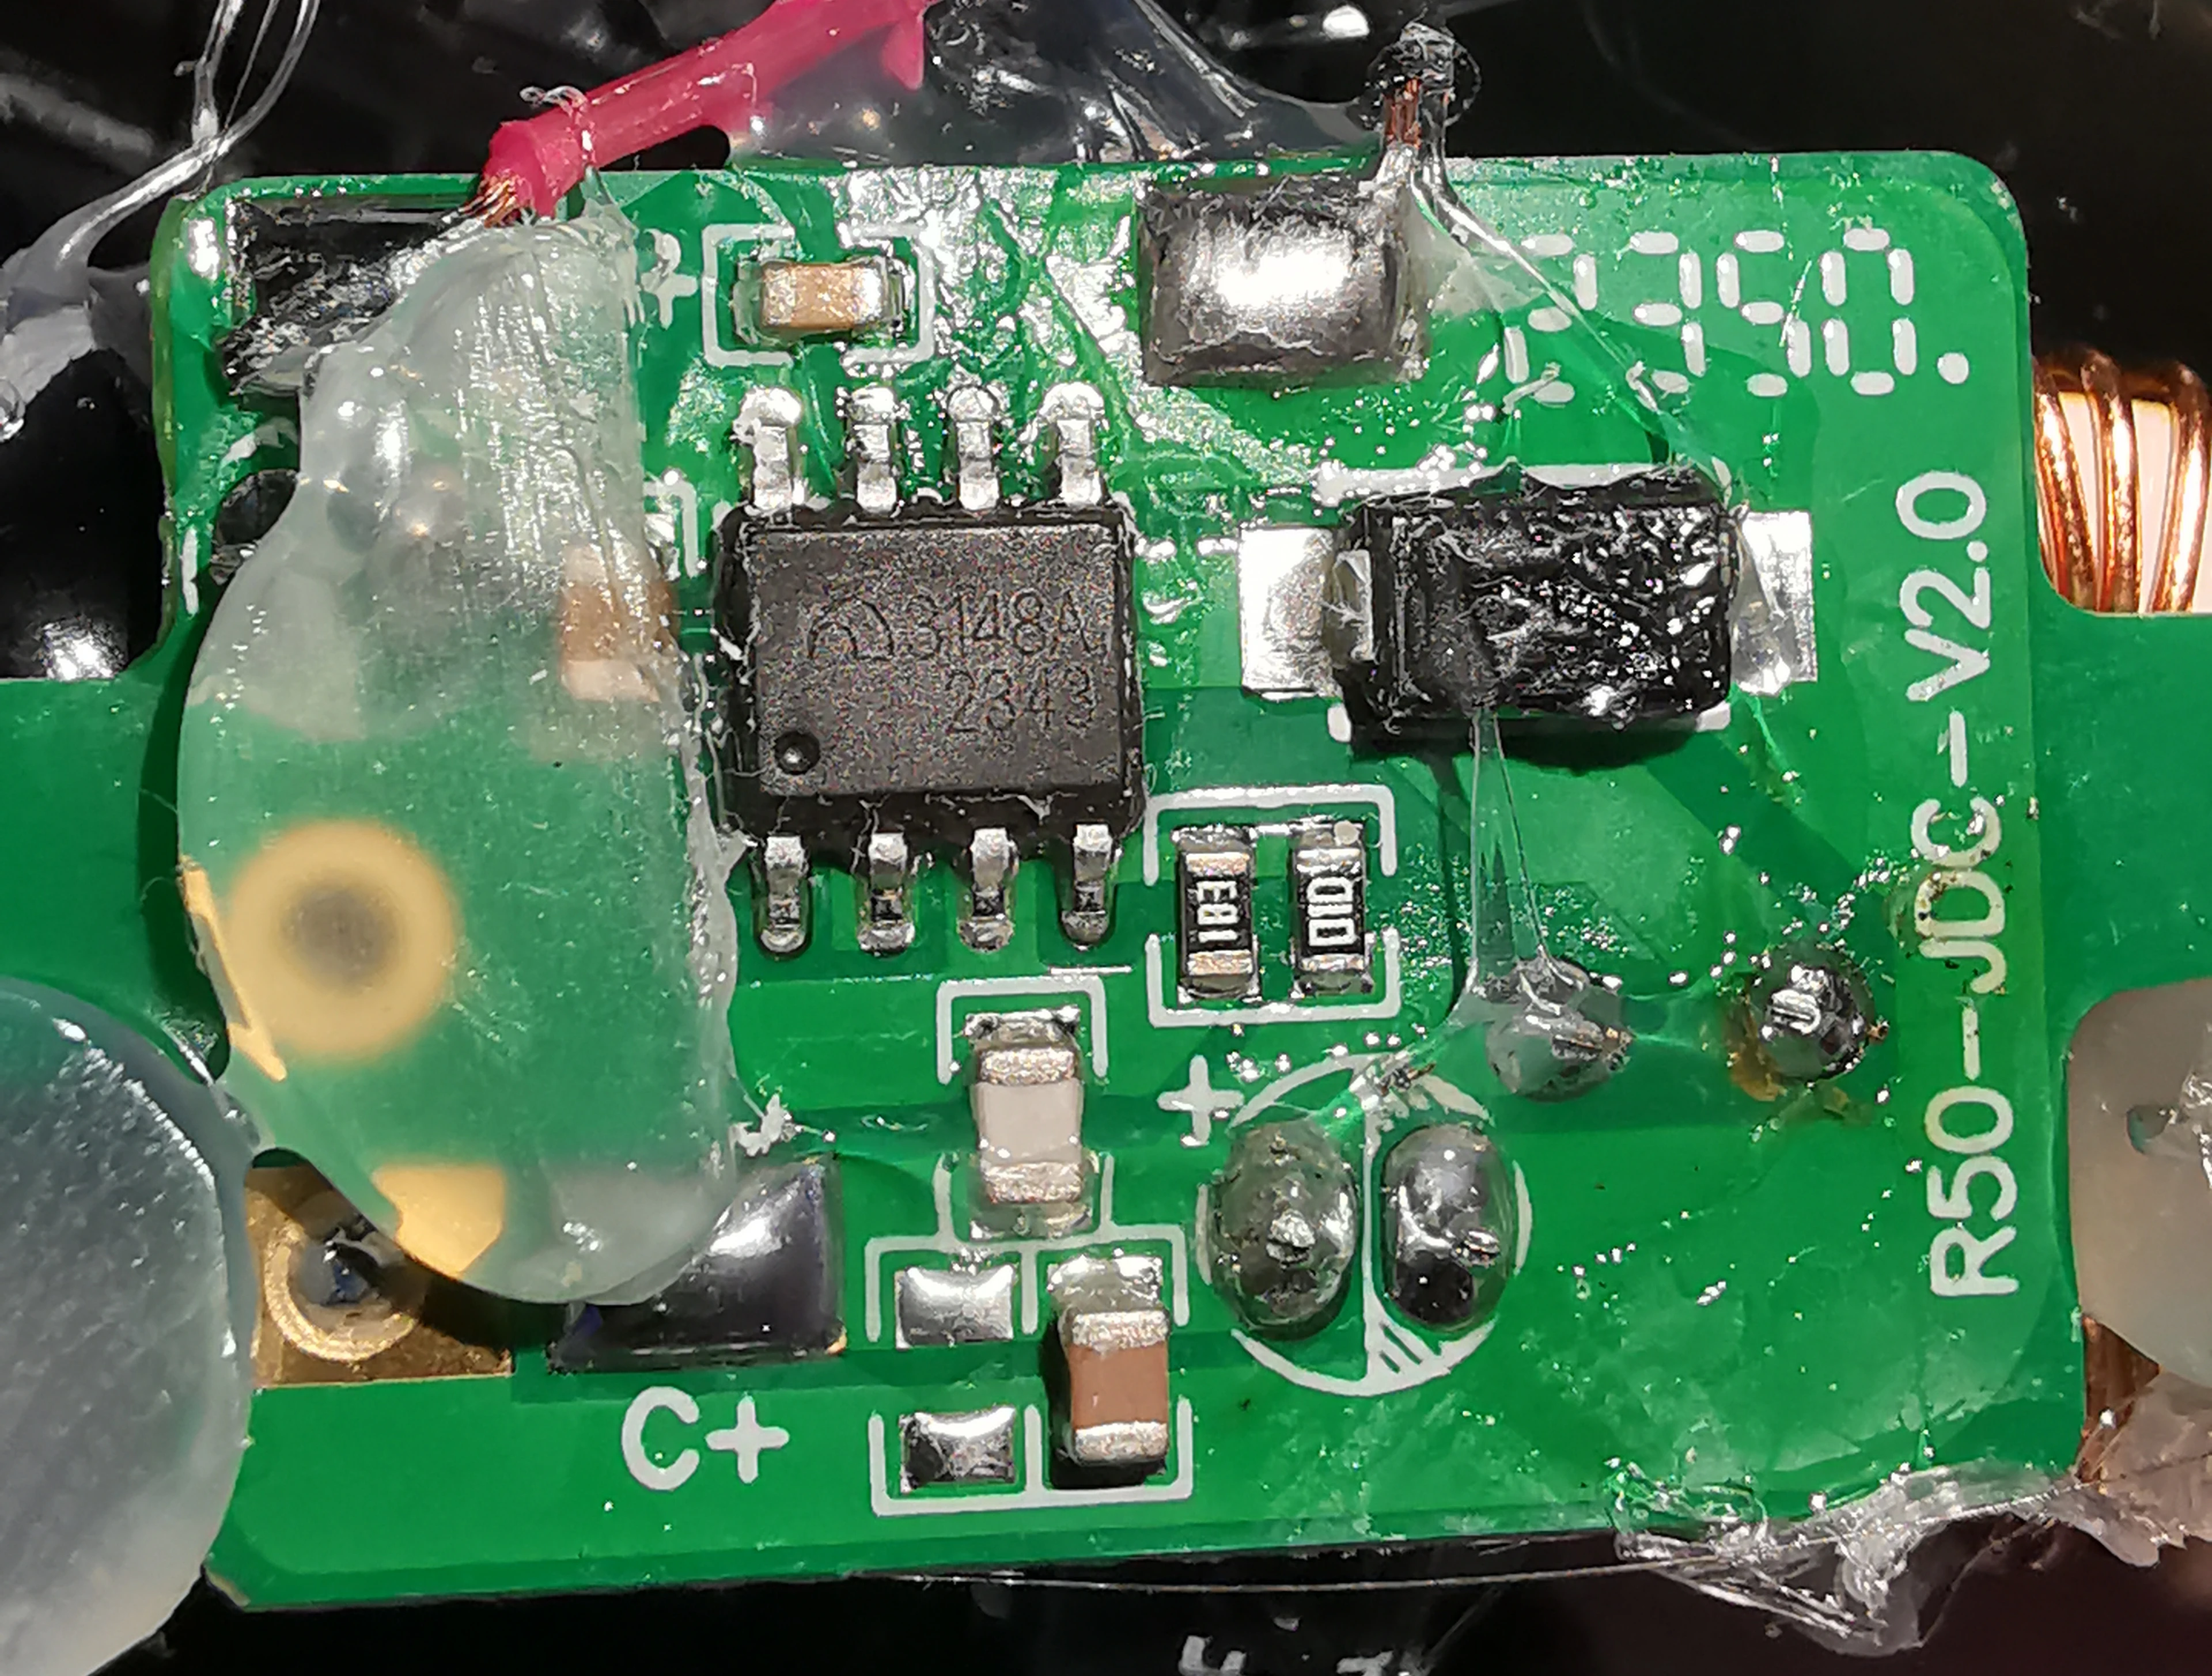
I couldn’t seem to read anything off that diode (?), even after cleaning it with more isopropyl alcohol. BTW, the part under the glue blob near the red power supply wire is the through-holes for the bigger electrolytic (100uF). The smaller electrolytic is not covered by glue. I forget its value, sorry lol.
Hmm, I will have to conduct my own spectral purity tests using this switchmode battery eliminator. The output filtering seems woefully insufficient. But maybe it solves the thermal efficiency issue. If it ain’t broke, I guess there’s no need to fix it. Otherwise I think I’ll start from scratch, just using this as raw parts.
By the way, if you want to cut into your own battery eliminator, I take no responsibility and you should be very careful, but here is how I did it. Place the battery eliminator so that the label text is facing up. Near the top right, like where you can see Yuri starts cutting too, you can see a small seam, with a rounded edge. Start digging your knife in there until you feel it give way. Now you can gently flex it until you’re able to get a stronger tool in there, or your fingers, and lift the rest off. You’re gonna cut the soft plastic a bit and it’s gonna be messy, that’s normal. (Those battle scars will show you’ve improved it!) It’s hot glued on, it’ll pull off though, just go slow or use a hair dryer.
Best of luck if you attempt it. Please let me know your thoughts in the comments below. Thank you.
73 VK2LNA
